How to Update Video Card Drivers for Minecraft
Although Minecraft — is far from the most demanding games, but it’s important to have updated video card drivers for stable performance, high frame rate, and shader support. From this article, you’ll learn how to update drivers for different video card producers – NVIDIA, AMD and Intel.
Contents:
1. How to find out what video card you have
2. How to update NVIDIA drivers
4. How to update Intel drivers
How to find out what video card you have
Defining a video card installed is an important step for diagnostics, installing drivers, or checking compatibility with games and programs. There are several simple methods to define your video card model in Windows.
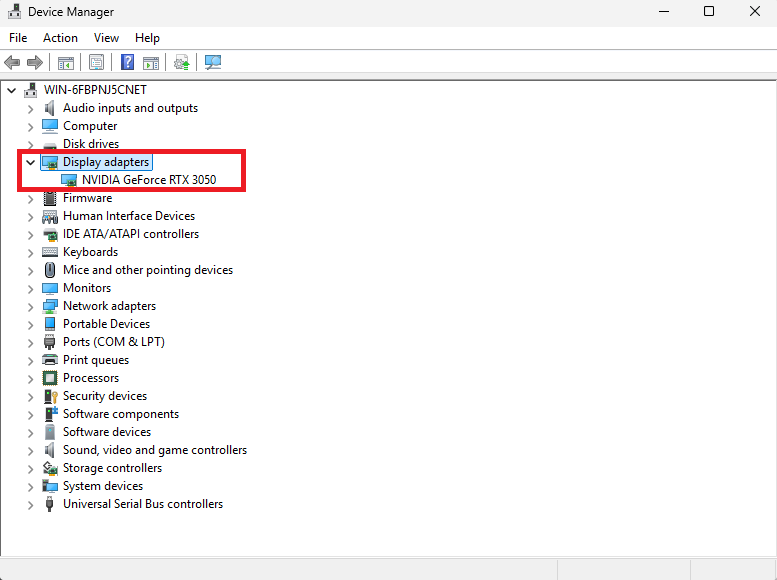
Method 1: Device Manager
- Enter «Device Manager» in the Windows search bar and open it.
- Unfold the Video adapters section.
- You’ll see a name of your video card (for example, NVIDIA GeForce RTX 3060 or Intel HD Graphics).
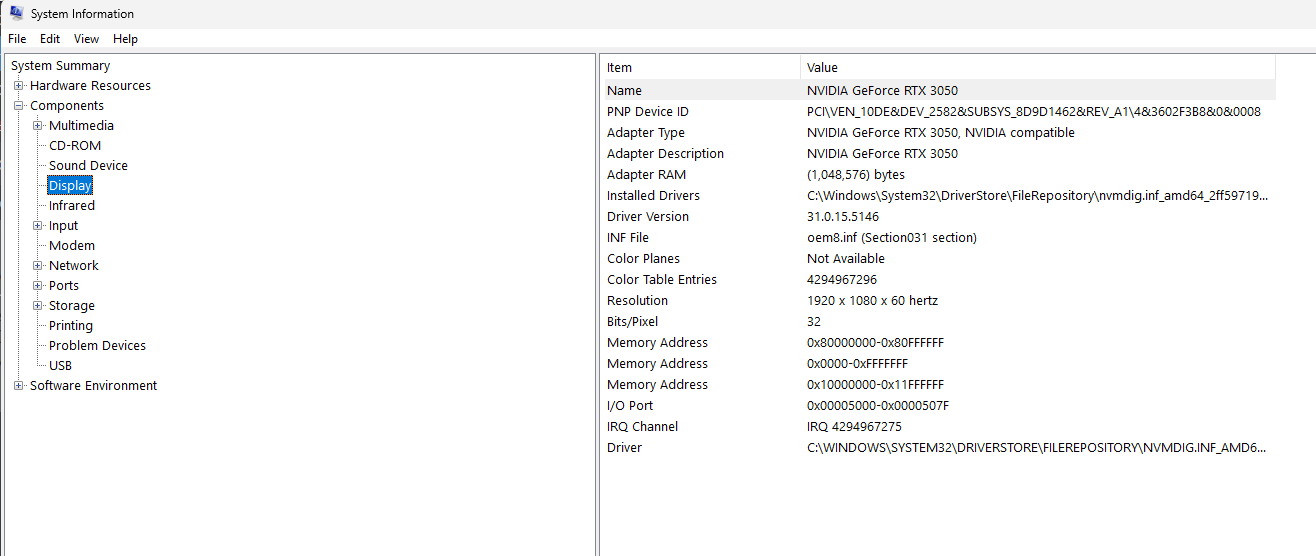
Method 2: System information
- If for some reason, you failed to open it using the first method, then try this one. Use the Win + R key combination, enter «msinfo32», and press Enter or the «OK» button in the open window.
- Open the Components - Display section — there, you’ll see your video card name and the memory volume.
How to update NVIDIA drivers
Automatic update
This is the simplest option for updating the drivers; go to the NVIDIA website https://www.nvidia.com/en-us/geforce/drivers/ downloader the loader and open it.
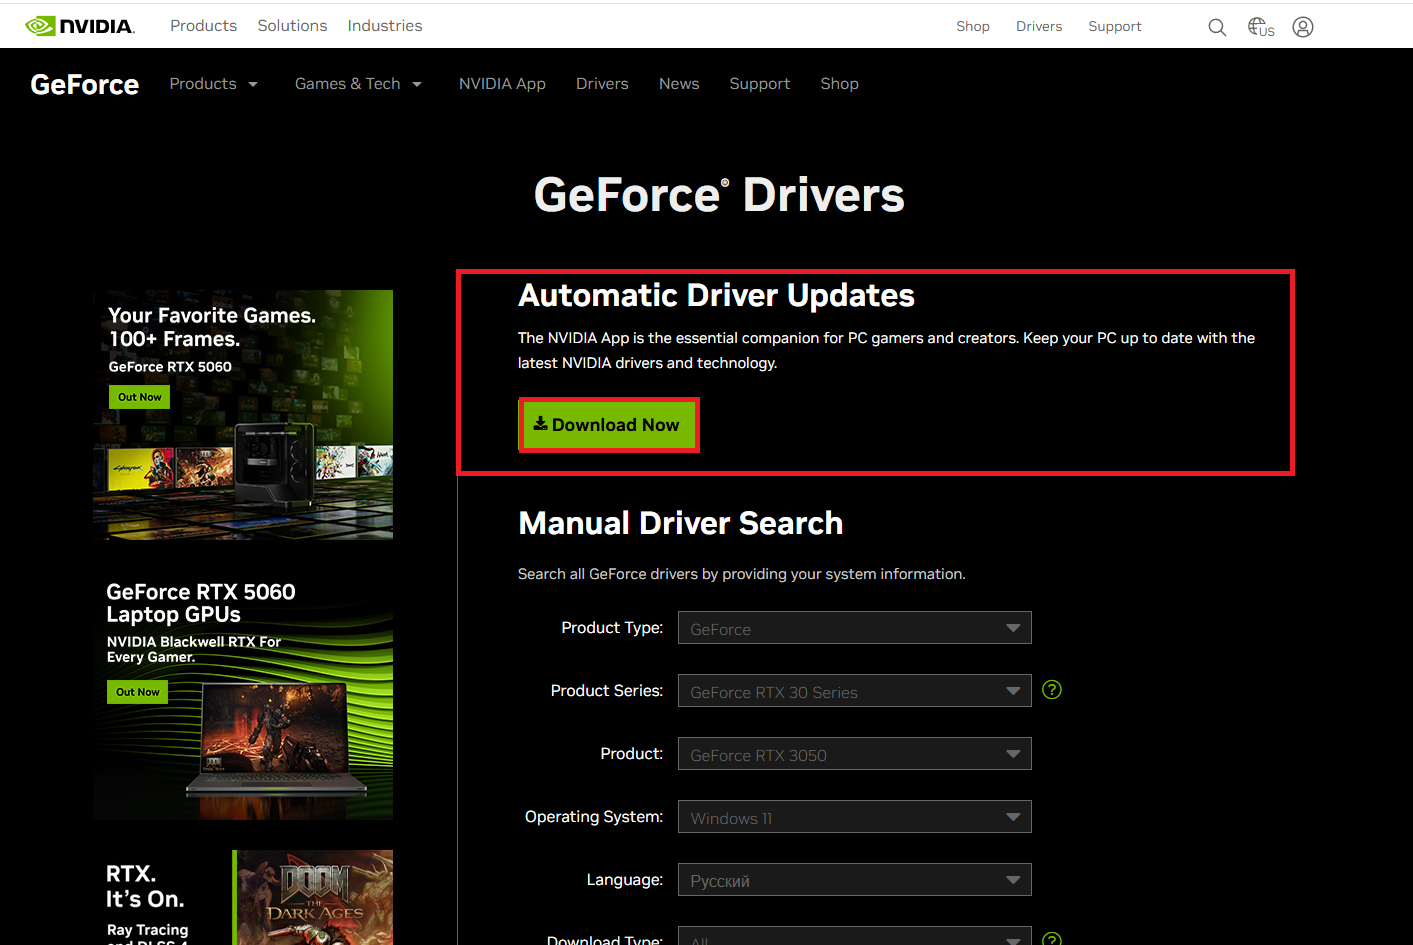
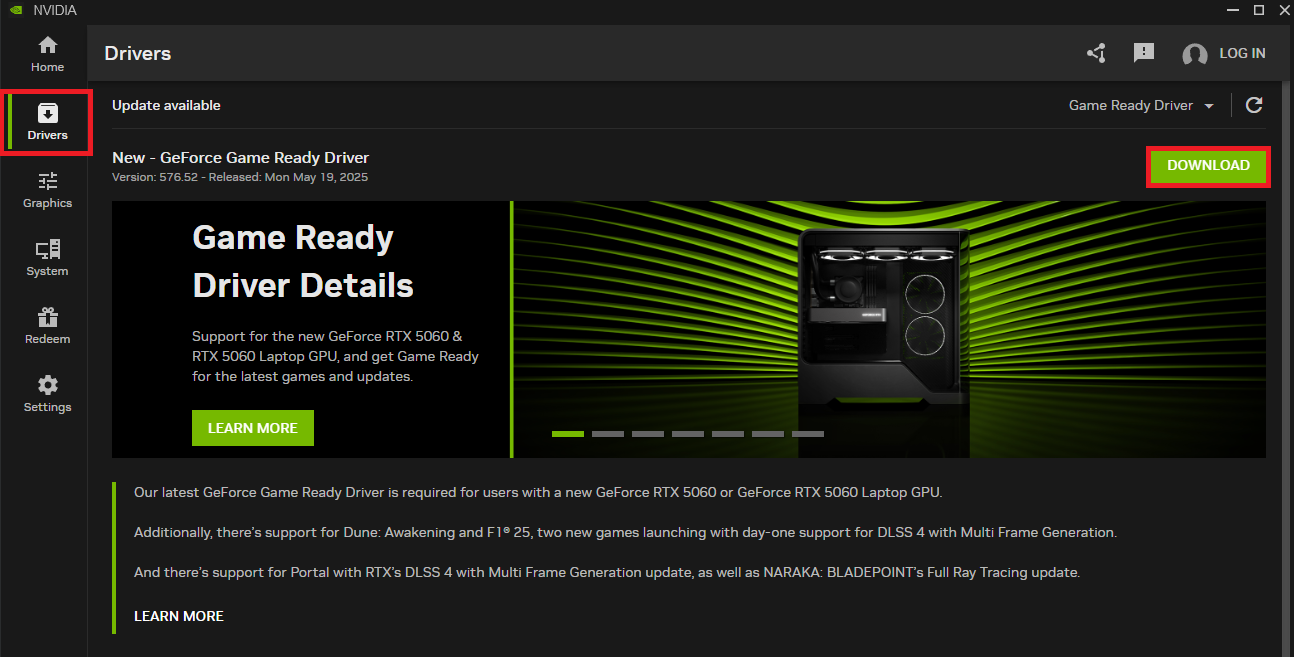
You’ve installed the NVIDIA Game Ready app; next, go to the «Drivers» section, and click on the «download» a new driver.
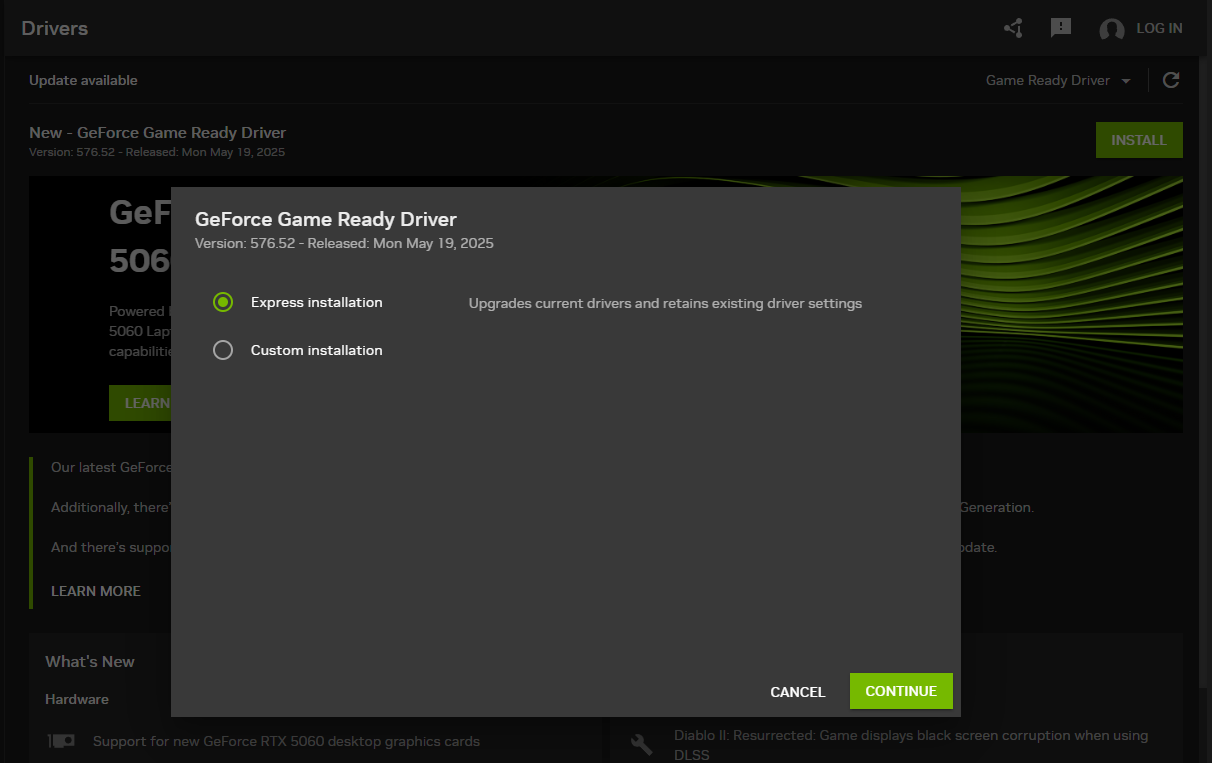
Wait for the update to download; next, the «install» button will appear in the same place. Select «Express installation» in the pop-up window and click on the Next. Restart the computer after installation. That’s it, you have the latest drivers for your video card installed.
Manual update option
This method of update is more suitable for old video cards that don’t support automatic updates, but you can use it for new video cards, too.
Step 1: NVIDIA website. Go to the NVIDIA website to search for drivers https://www.nvidia.com/en-us/geforce/drivers/.
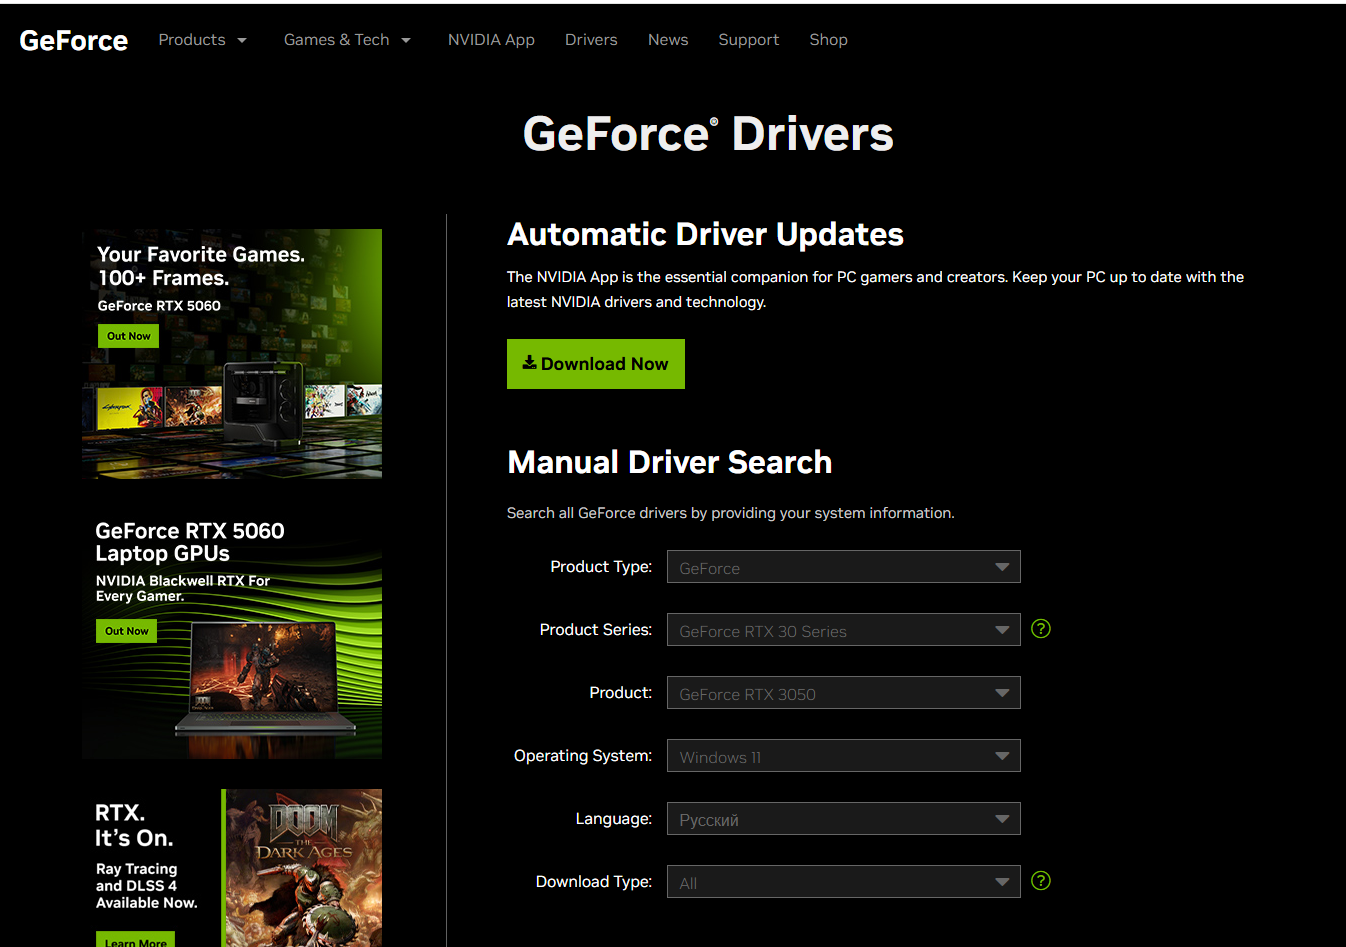
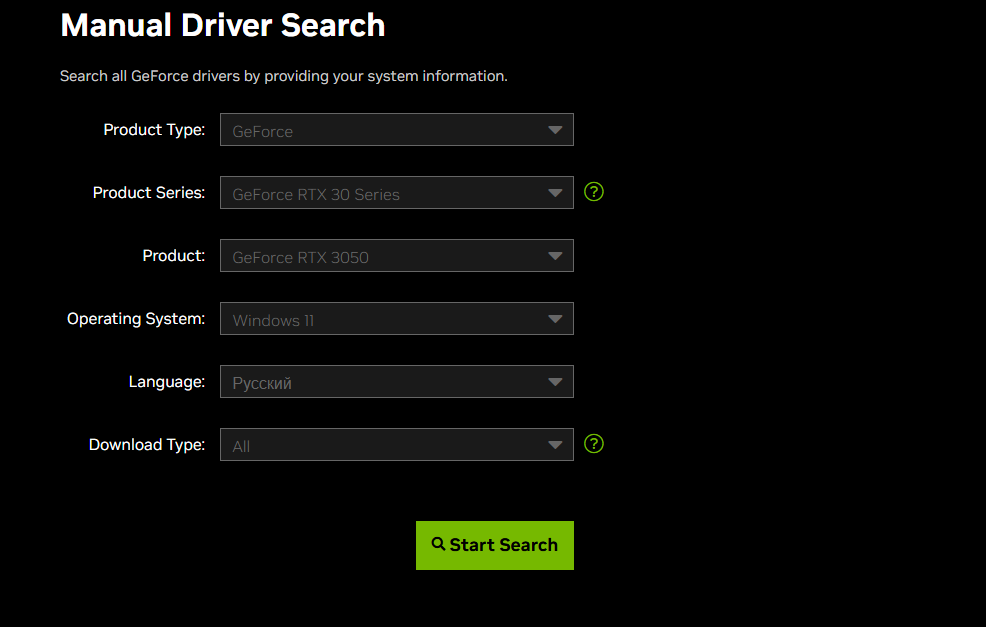
Step 2: Searching for drivers. Enter your video card parameters: product type, product series, product, operating system, language and download type, and click on the «Start Search» button.
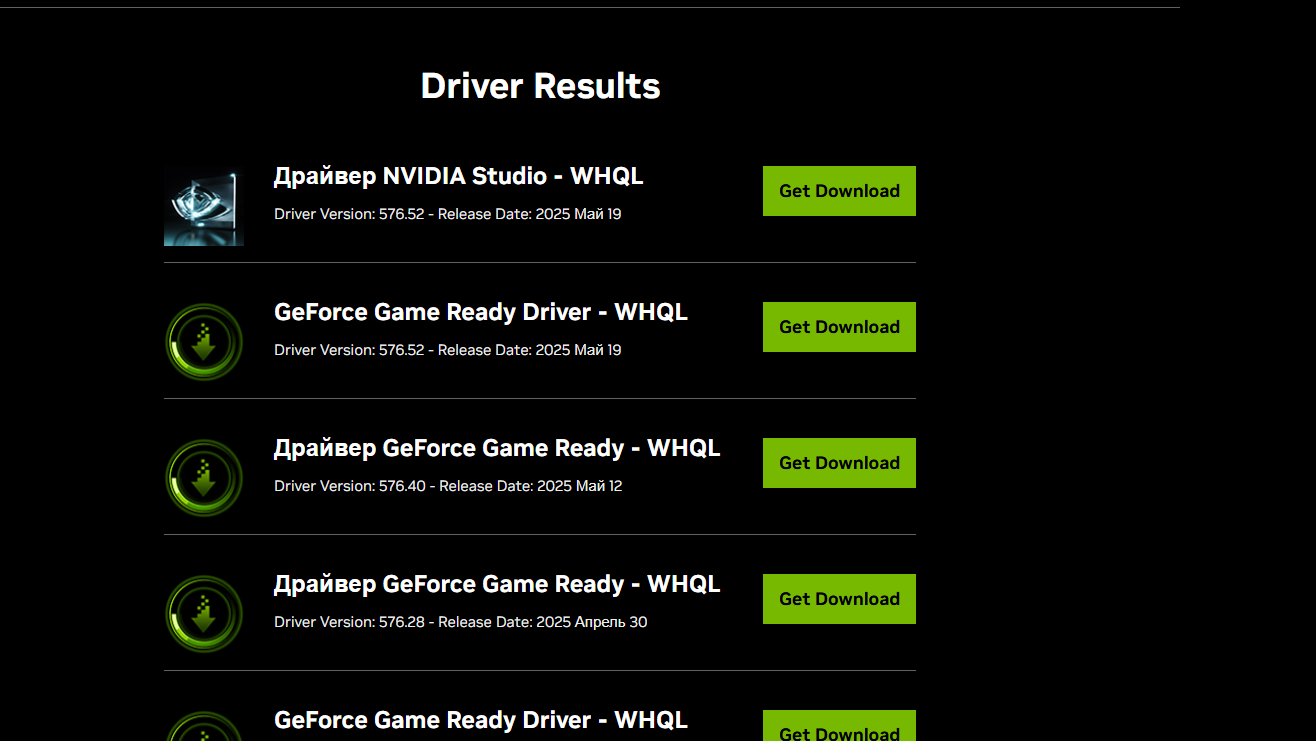
Step 3: Downloading drivers. After a while, you’ll see the search results on the screen; download the latest update, which is the first from the top.
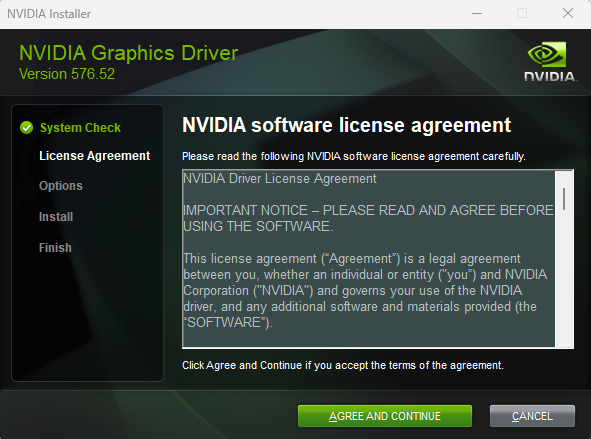
Step 4: Installing drivers. Run the downloaded installer. The program will then do everything for you; wait for the drivers to be fully installed and then restart your PC.
How to update AMD drivers
Automatic update
On the AMD website https://www.amd.com/en/support/download/drivers.html, download an app for the automatic driver search and installation – AMD Software: Adrenalin Edition.
Install the app, agree to the terms and conditions, and wait for the updated drivers to be installed. Complete the update and restart the device so that the drivers start working.
Manual update
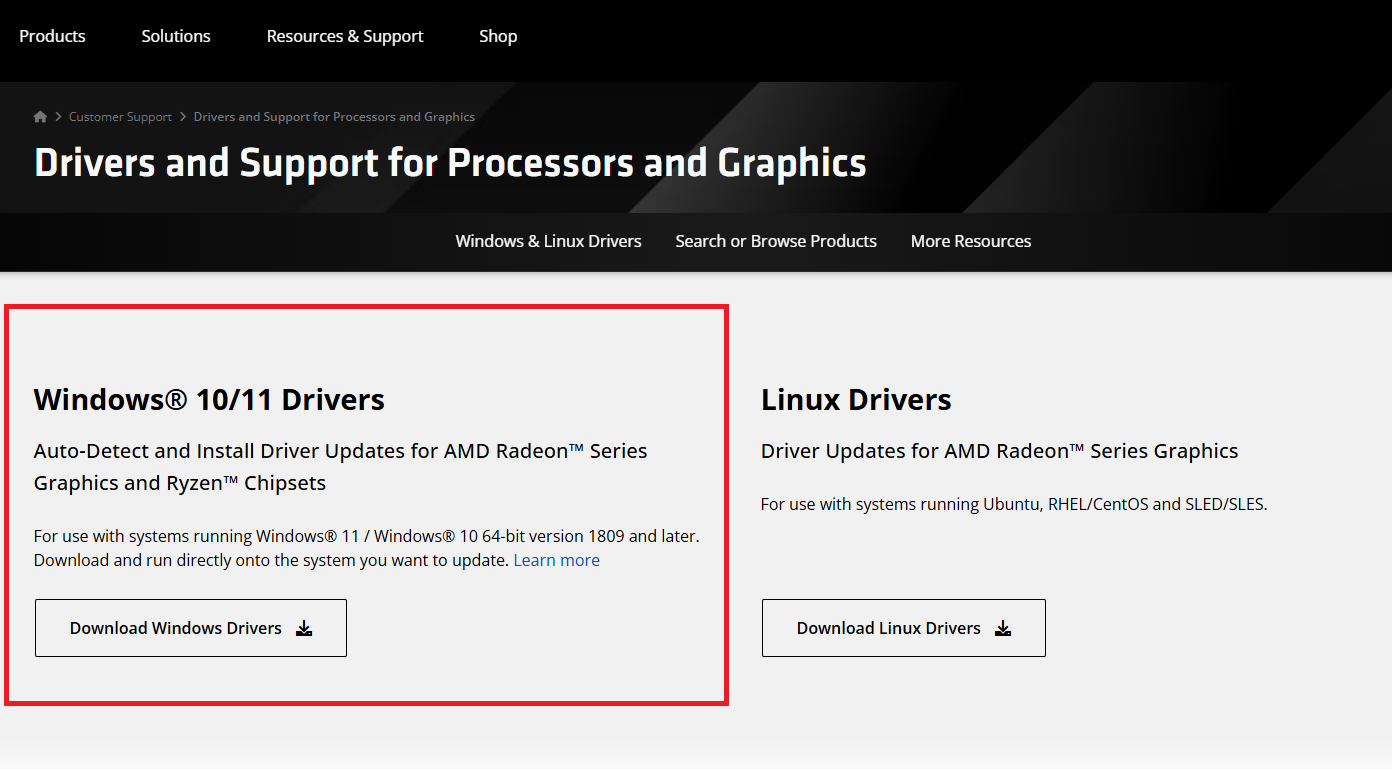
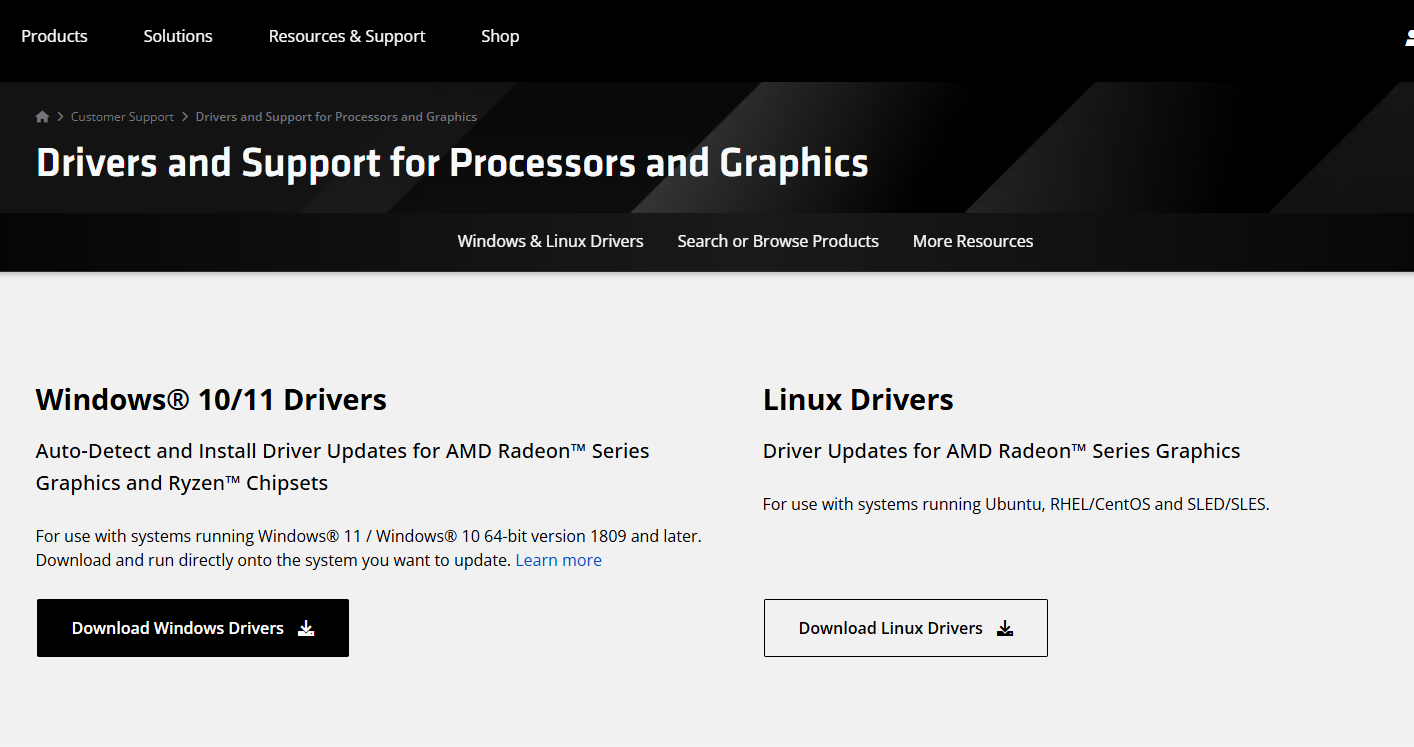
Step 1: go to the AMD website to download the driver updating program: https://www.amd.com/en/support/download/drivers.html.
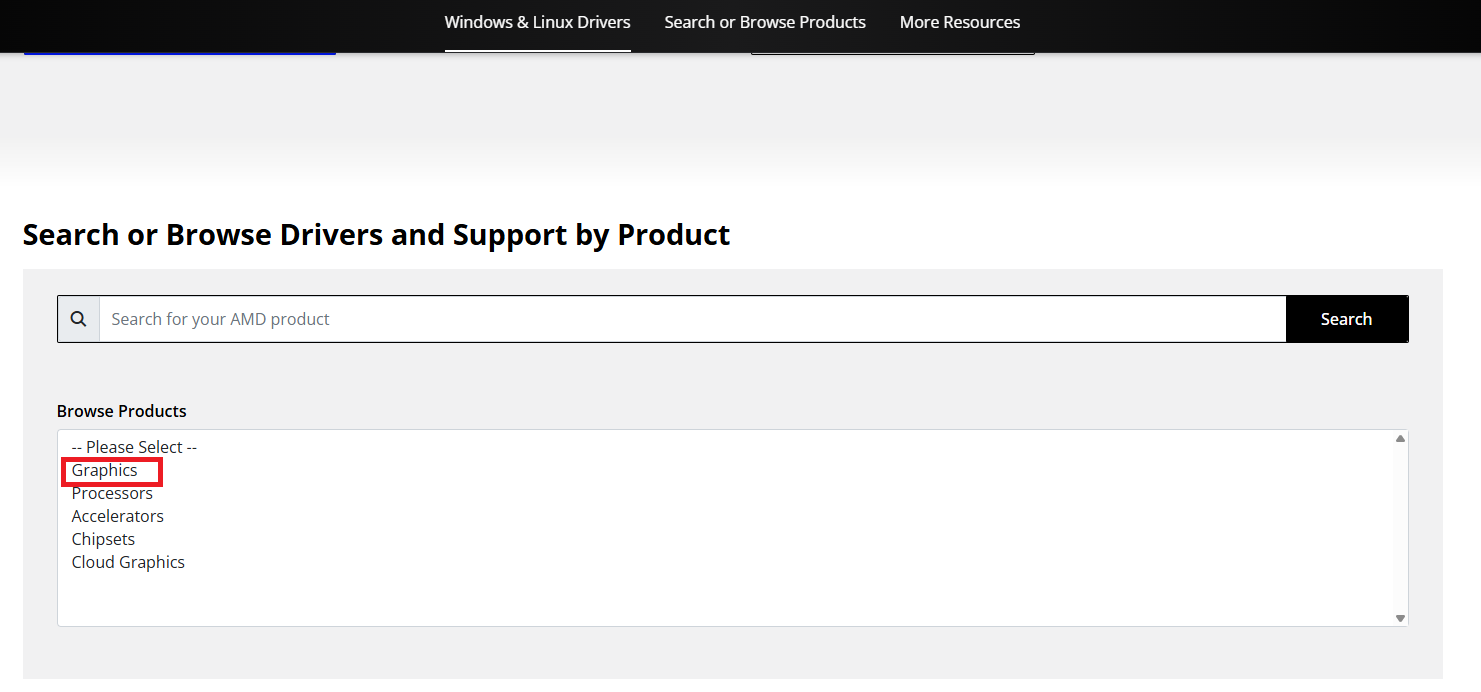
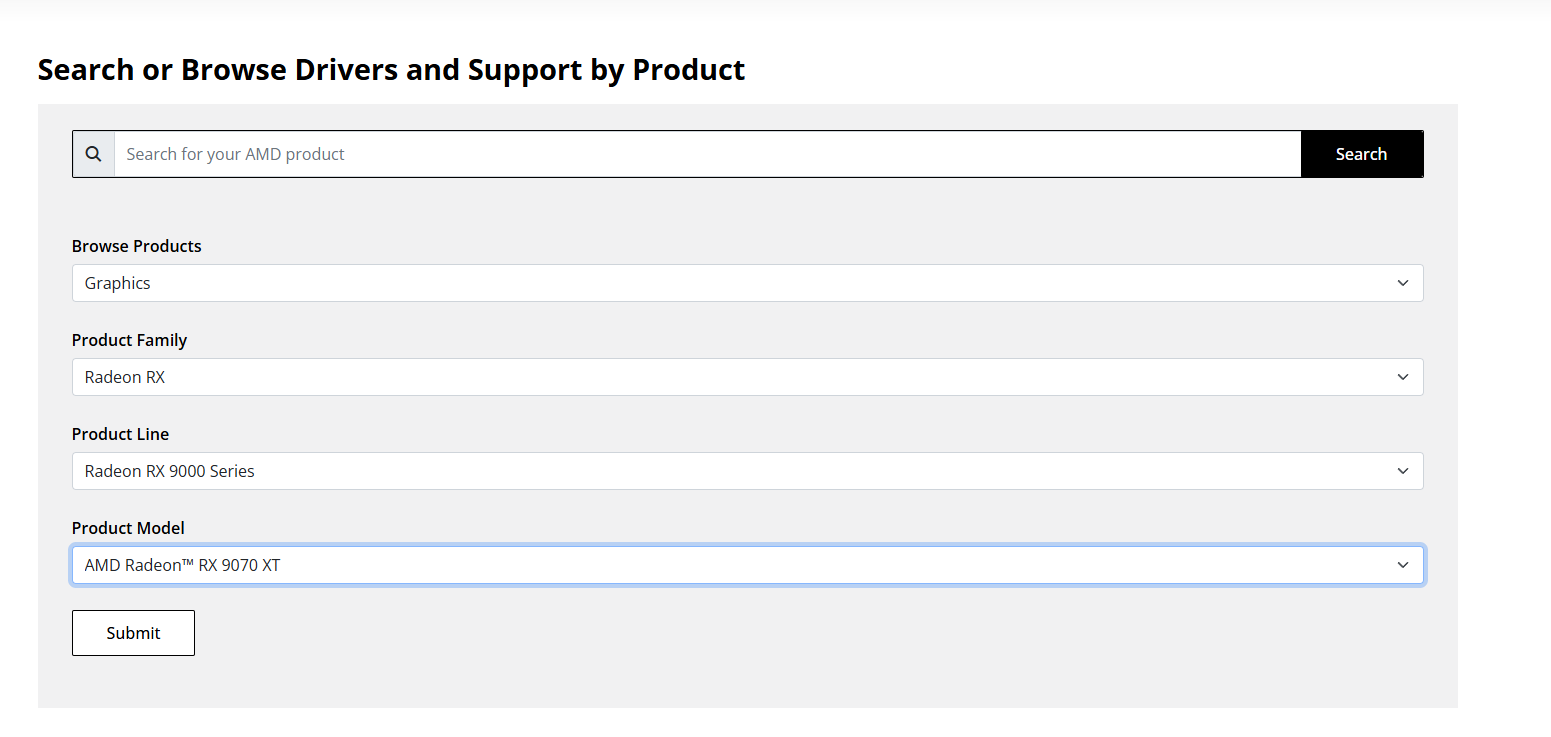
Step 2: scroll down a bit and select the video card parameters. Select the «Graphics» first, as we update the video card drivers. Next, you need to select the product family, Radeon RX, Radeon HD, or whatever else you have. At the beginning of the guide, there is a section on how to find out information about your video card. Additionally, enter the «product line» and «product model», and only after that send it for consideration in the driver search.
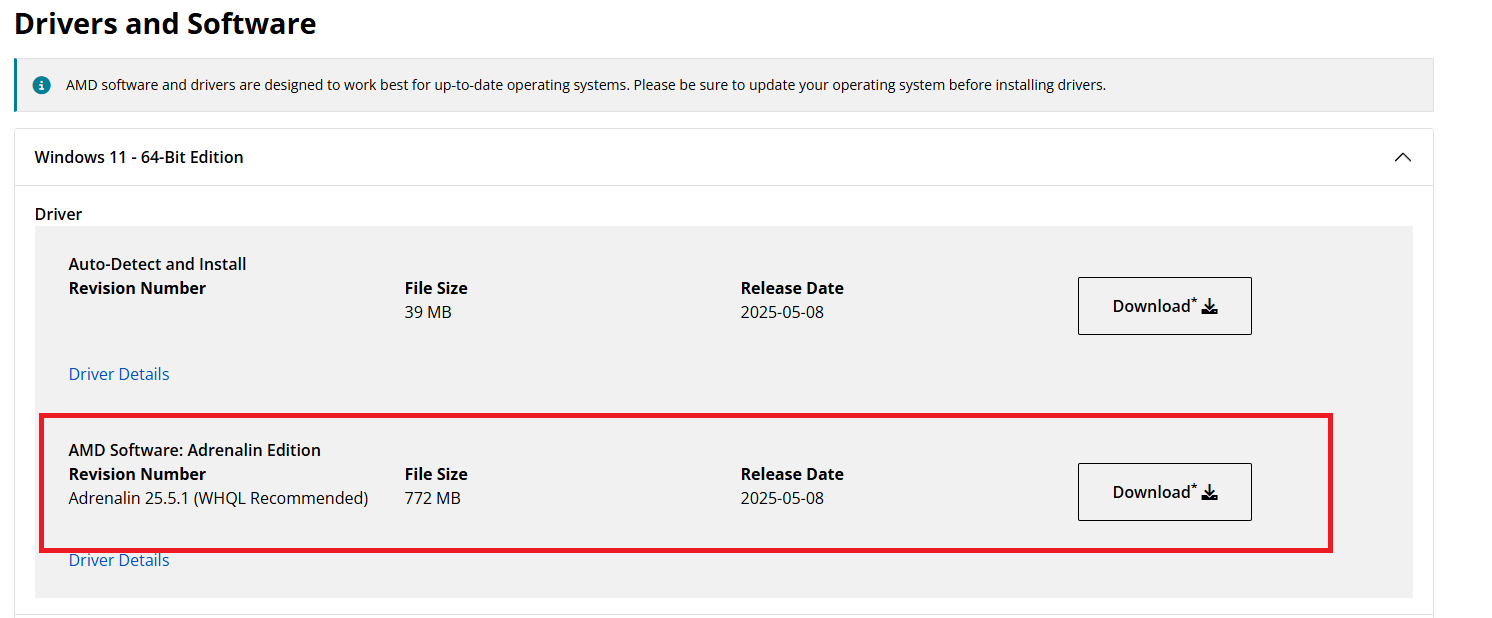
You’ll immediately be redirected to another page of the website, where you need to select your operating system. Click on your system and select to download the AMD program in a new window: Adrenalin Edition.
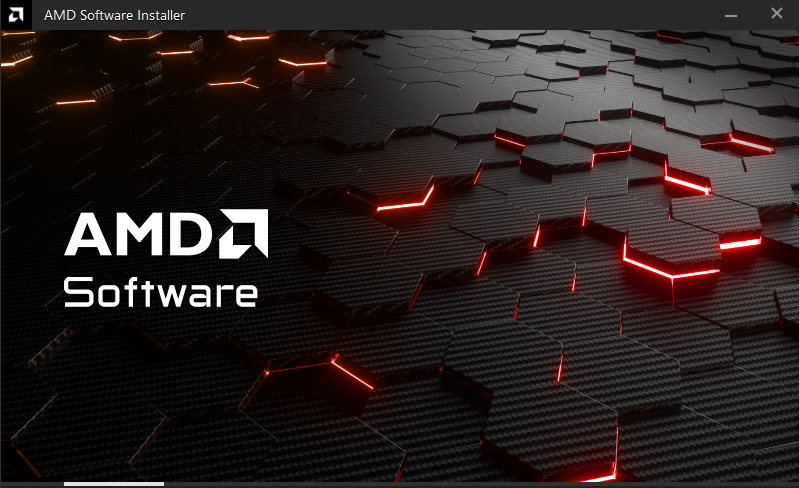
Step 3: wait for the file to download, open the program and install it. That’s it, you don’t need to do anything else, just wait for the drivers to install and then be sure to restart your PC.
How to update Intel drivers
Automatic update
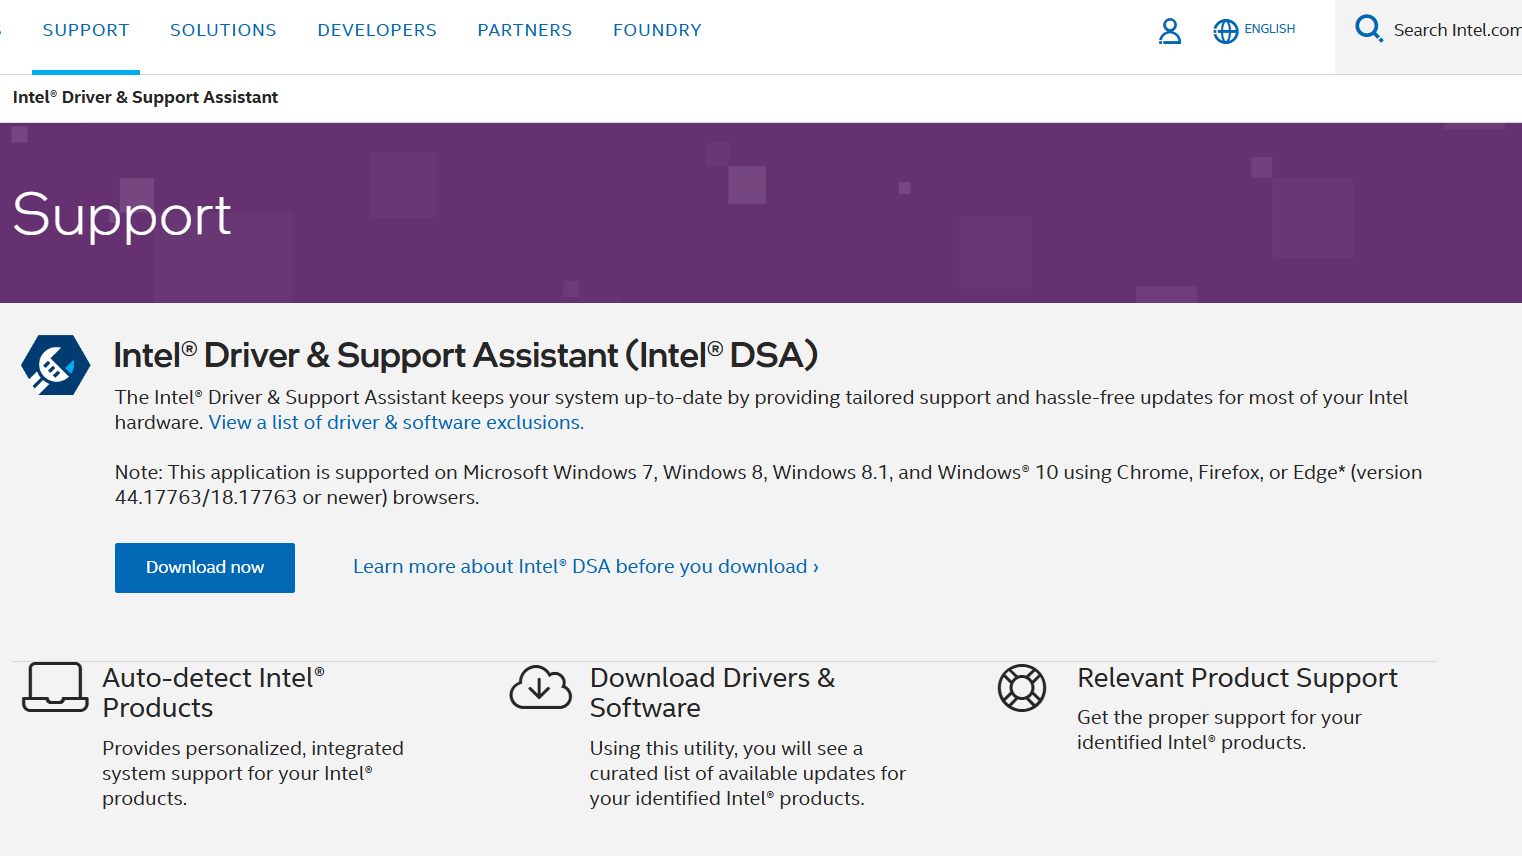
Follow the link https://www.intel.com/content/www/us/en/support/detect.html and download the driver updating program: Intel® Driver & Support Assistant.
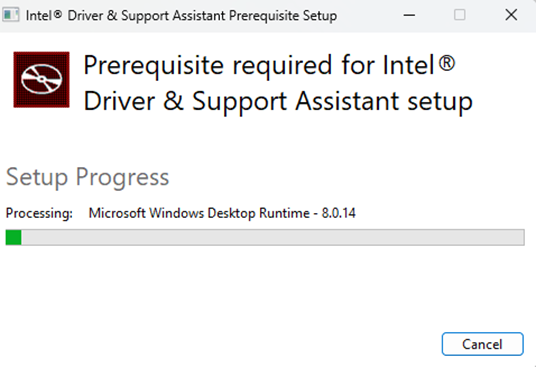
After waiting for the file to download, run it and wait for the installation. Agree to the terms one by one. The program will automatically determine your video card type, and you will be redirected to the Intel website if it detects uninstalled driver updates; there, you need to agree to update the drivers.
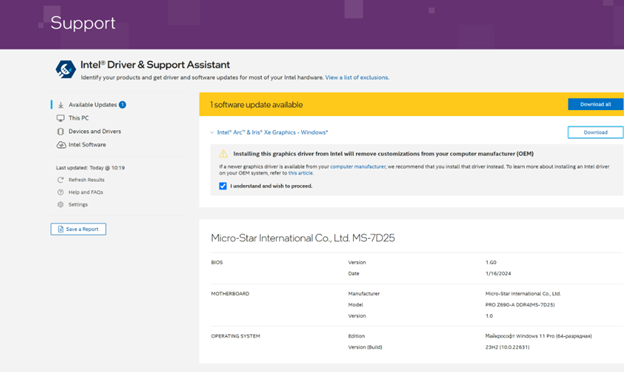
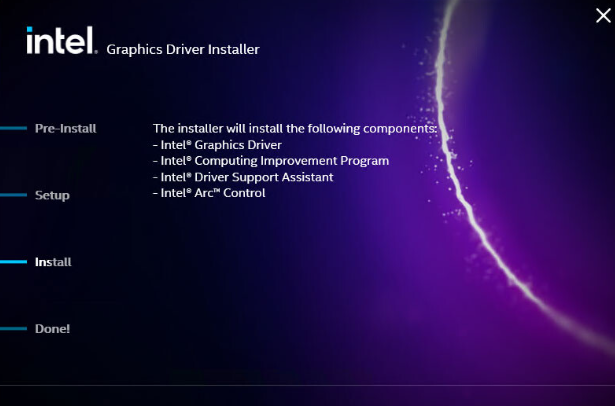
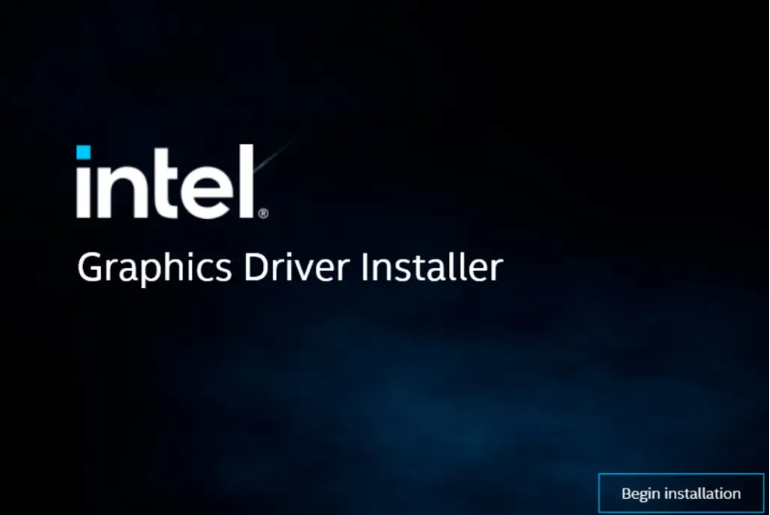
Agree to the terms and click on the «Download» button. Open the downloaded Intel driver installer and follow the step-by-step guide in it. After installation is complete, you’ll need to restart your computer, and the application will remind you about it.
Manual update
On the website Intel enter the name of your video card in the serach bar and download the latest update.
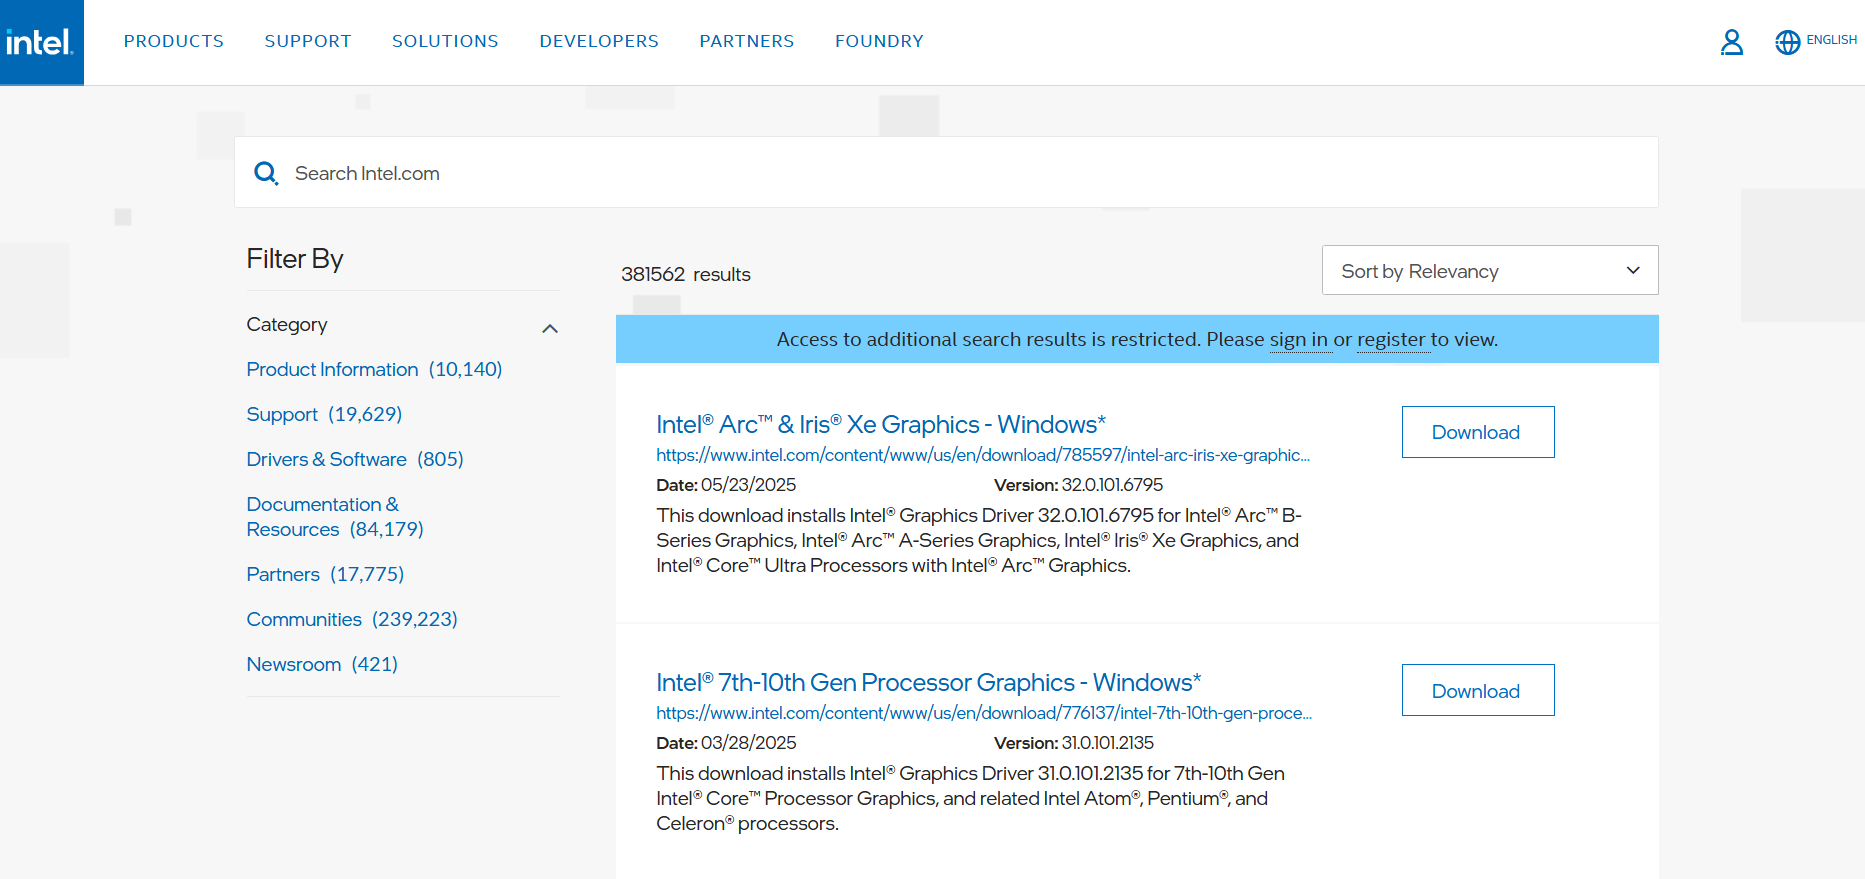
Run the downloaded Intel driver installer, agree to the terms and proceed to updating the drivers. Restart your computer after the installation is complete.