Enabling the skins TLauncher to their own versions

You may want to display our system of skins to your own version of Minecraft, for example when you manually installed Forge or OptiFine, as well as to assemblies downloaded with mods from the Internet. Enough to perform a couple of paragraphs and all your skins will work!
For starters, we recommend you to install OptiFine in your build (version) if not, due to the fact that the skins work with him and appear much better.
Always use the latest version of launcher, download TLauncher on the main page.
Note: Your Minecraft client must be at least version 1.7.10 (inclusive). That is, all versions from this: 1.8, 1.9, 1.10 and higher.
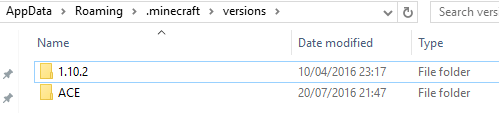
1) Copy your Assembly to the folder .minecraft/versions/ , to get a similar path .minecraft/versions/ACE/ , where ACE is the name of your Assembly.
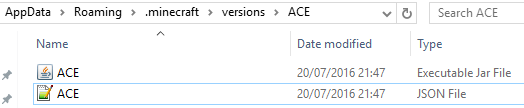
2) In this folder should be two files with the extension *.jar and *.json. In our case ACE.jar and ACE.json
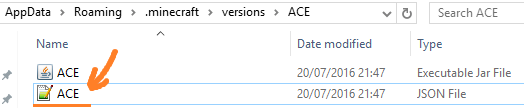
3) Open with a text editor (e.g. notepad++) the file *.json, in our case ACE.json.
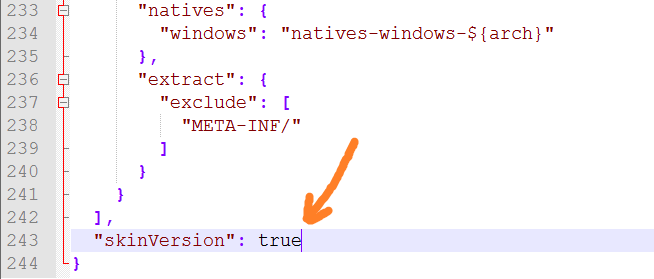
4) Leaf through to the end of the file and find the line "skinVersion": false (If it is not present, run once from the launcher version) and change the value false to true. False means that the system skins is disabled, and true that included.
If you did everything correctly, then in the launcher in the list, near the name of your version, the icon will be TL, which indicates the working system of skins with this version.
