How to install mods in Minecraft [TLauncher]
Installation of mods is not as difficult process as it seems to many, just enough to read and execute a few items in this manual. And finally, you can indulge in an interesting fashion, which can add to Minecraft absolutely anything from small items to whole worlds.
Instruction are provided for Minecraft versions above 1.6. Do not recommend at all to use the version less.
1) Download our TLauncher, because with it, this statement omitted many of the unnecessary actions from your side.
2) Find in the Internet the mod you need and look at what version of the game he developed. We have the example will be EnderBags for version 1.10.2. Download the mod file and save while at any location on the computer.
3) Open the launcher and find it in the list of Forge versions (it is responsible for most mods) version is the same as the mod, in our case 1.10.2. Click on the "Install" button, wait for the install and first run.

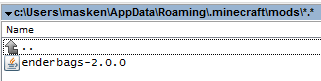
4) Now you need to open the folder with the player, you can go to this path: c:\Users\ИМЯ USER\AppData\Roaming\.minecraft\ (If you have not changed the default path), or may in the launcher click "Open folder", thereby immediately find yourself in the right directory.

5) In it we find the folder "mods" (which is created automatically after you install any version of Forge) and go into it. Take the downloaded mod (which has the extension .jar or .zip and copy into the open mods folder.
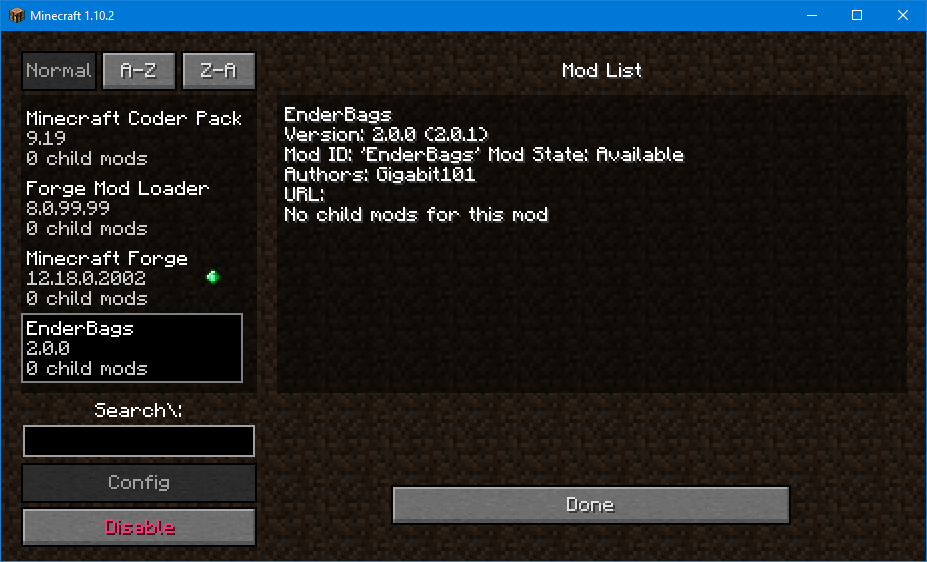
6) Run the launcher and enter the version of Minecraft Forge menu, click on the button "Mods", there we find a set of modes. This means that now the mod should work. Play and enjoy! Really our way to install mods in Minecraft easiest? We thought: Yes!
See also:
- How to install maps in Minecraft
- How to install skins in TLauncher