Resetting Network Settings in Windows [TLauncher]
Even when all the necessary drivers are in place, and the operating system is configured correctly, failures may still occur, especially in the operation of the network adapter (the Internet connection is lost, too slow, or there is no access to certain websites). Besides, when a player has to constantly switch from a VPN and back, various issues are even more possible.
In this case, resetting the OS network settings usually helps. So if you are suffering Internet issues, follow the steps described below to reset your network settings. As a rule, 90% of them are solved after that.
Contents:
1 Resetting the Settings Through the Command Prompt
2 Resetting the Settings Through the Network Settings
Resetting the Settings Through the Command Prompt
· To do that, type "cmd" or, more precisely, "Command Prompt" in the Search field in the taskbar.
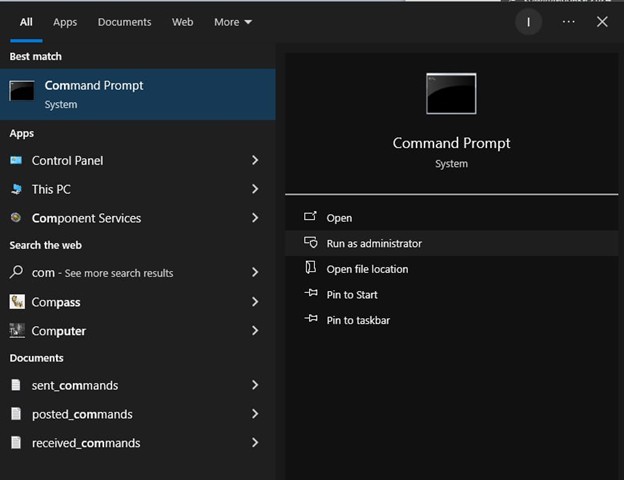
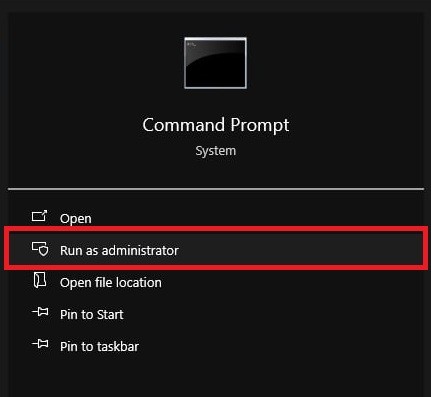
· Next, click the RMB on the tab opened and select "Run as Administrator".
· Once the command prompt window appears, type the following commands. After each one, you need to press Enter to confirm your action.
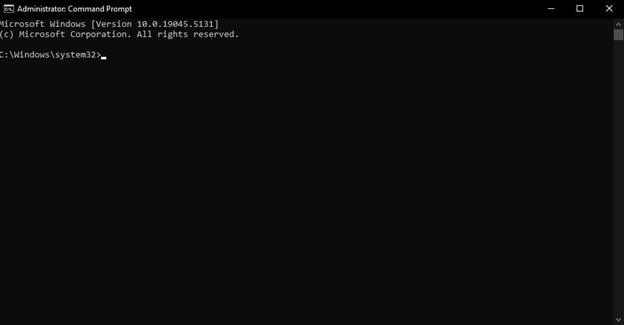
The list of commands:
· netsh winsock reset
· netsh int ip reset all
· netsh winhttp reset proxy
· ipconfig /flushdns
Note! Restart your PC for all the changes to take effect!
Resetting the Settings Through the Network Settings
· Click the Start button and go to the Settings section.
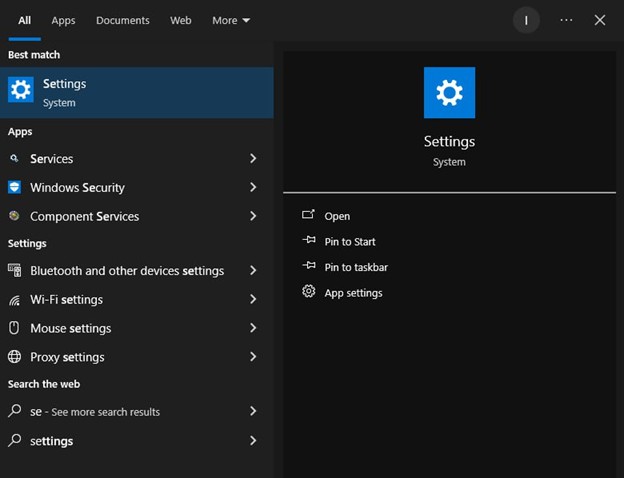
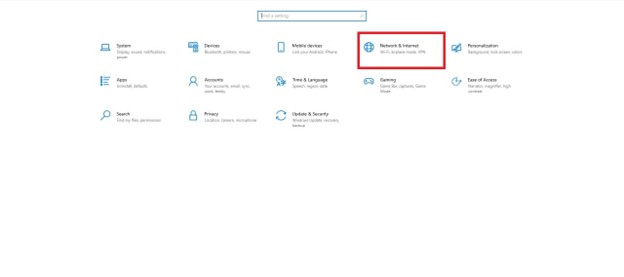
· In the new window, go to the "Network & Internet" section.
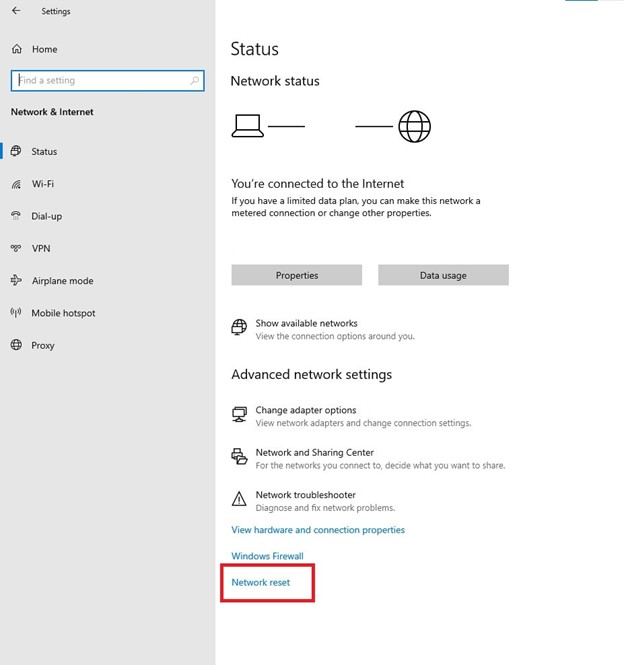
· If you are using Windows 10, go to the Status section and click "Network reset" at the bottom.
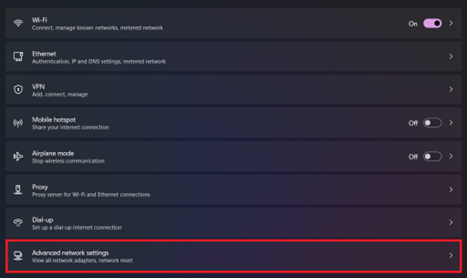
If you have Windows 11 installed on your PC, go to the Advanced network settings section and reset the network there.
· Then, click "Reset now" and confirm the operation.
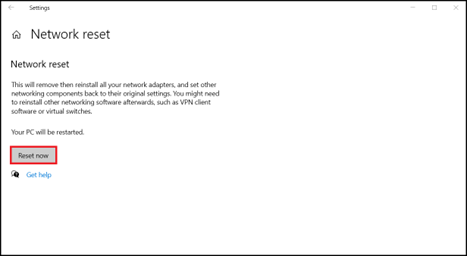
That’s it! It remains only to reboot your PC.


